
|
|

|
Breaking News!
DCI Warren Jones 9, Web Of Lies, Out Now! Click Here To Visit My Writing Page (opens in a new window). Free Download!
Papering Over The Cracks - A DCI Warren Jones short story (Includes a sneak preview of Web Of Lies) |

|
|
|
|
|
Breaking News!
DCI Warren Jones 9, Web Of Lies, Out Now! Click Here To Visit My Writing Page (opens in a new window). Free Download!
Papering Over The Cracks - A DCI Warren Jones short story (Includes a sneak preview of Web Of Lies) |
|
The Character Formerly Known As...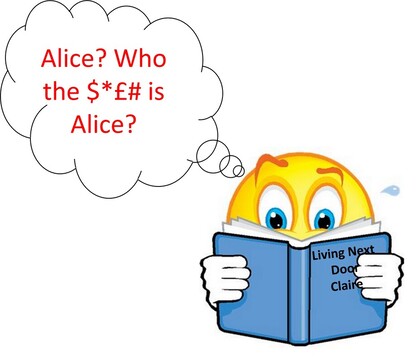 I recently ran my latest work in progress past my beta readers. As always, they helpfully picked up typos, made insightful suggestions and spotted errors. One in particular was picked up by all of them. "Who on earth is Amelia?" they asked.
Quite right too. Amelia hasn't existed as a character in the book for weeks, ever since I decided she was more of a Doreen (*). I had duly gone through the manuscript and changed all instances of Amelia to Doreen - except for this one occasion, which I had managed to miss. (*) names have been changed to protect innocent characters. So today, I decided the TuesdayTip would look at the perils of and pitfalls of changing a character's name . First of all, why change a character's name? There are a lot of reasons why an author may change a character's moniker midway through writing. First there are the global changes.
There are a few things to look out for when changing the name. Treat Find and Replace with great care. The temptation is to just change all instances of Sam to Alex in one go. There is a certain satisfaction to seeing Word report 'All done. We made 231 replacements.'. But social media is full of hilarious mishaps from blindly trusting Word to do this. For example changing Tom to Alex can mean a character's sAlexach suddenly rumbles… Remember - verify all changes one at a time using Find Next. It won't take long. Then there are possessive apostrophes. Typically we add apostrophe s ('s) to the end of a name to denote the possessive. Eg Warren's car. Or Warren's house. But, in UK English, names ending with a letter S don't have 's added to the end, rather just an apostrophe. For example, the possessive of Jones is Jones' not Jones's. So it would be Warren Jones' car. Or Warren Jones' house. In the US, they just add 's to everything. (Tip: If you are with a publisher, check their style guide to see what they prefer. See Tip#73 for more information Style Guides.) One way to dodge this issue entirely is to only substitute names with a replacement with the same ending as the original eg Sam to Alex - neither ends in an S. Jones to Davies - both end in an S. This way, your original apostrophe usage will remain correct. Finally, don't forget those pesky pronouns. When substituting a character, don't forget to take into account if the gender or preferred pronoun for the new character differs from that of the original. It is very easy to forget this. For example if I give one of Moray Ruskin's lines of dialogue (He/Him) to Karen Hardwick (She/Her), then I need to keep my 'she said/he said' etc consistent through the scene, otherwise it is jarring and confusing for the reader. Can you think of any other issues that may arise from changing a character's name? Have you any amusing examples? As always, feel free to comment here or on social media. Until next time, Paul If you are a writer with a tip to share, or fancy writing a fictional interview between you and one of your characters, please feel free to email me.
0 Comments
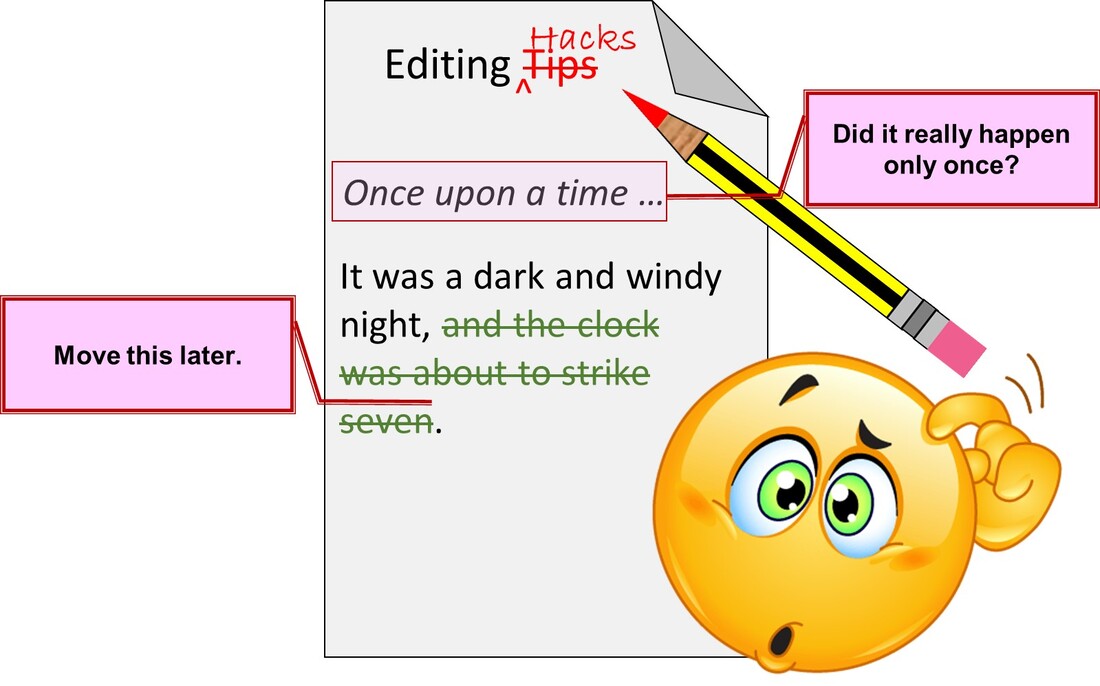
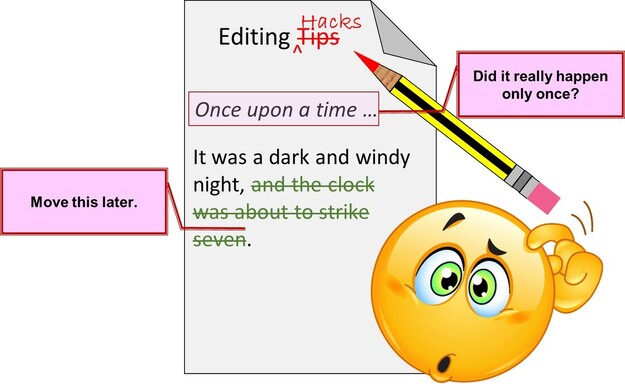 Editing - you either love it, loathe it or just see it as part of the process.
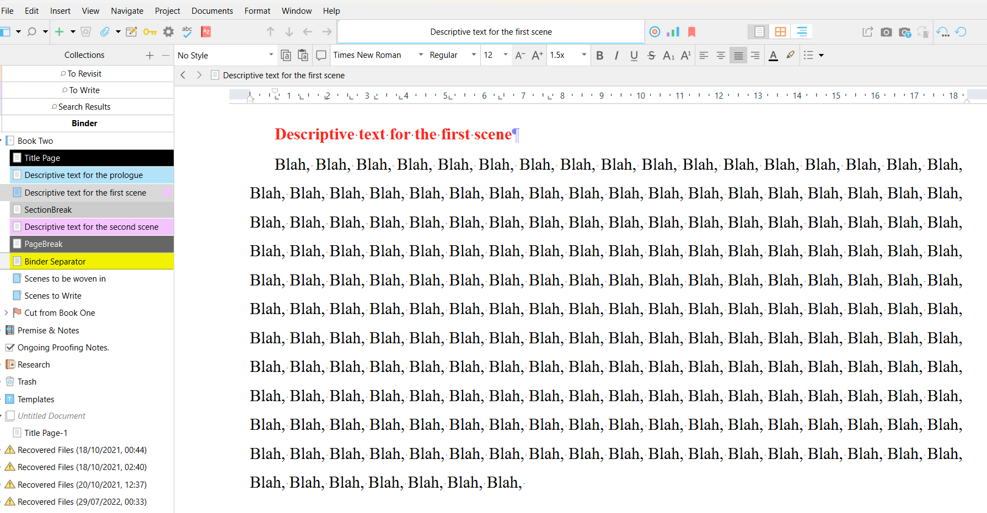
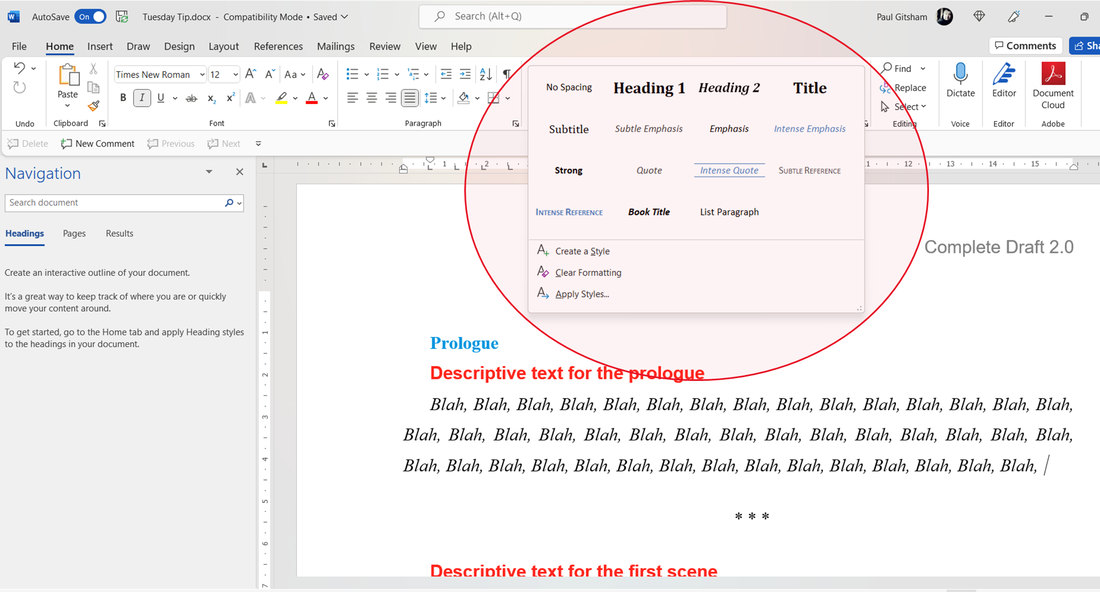
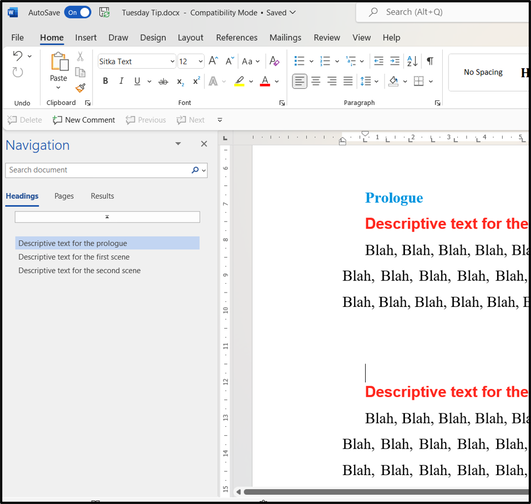
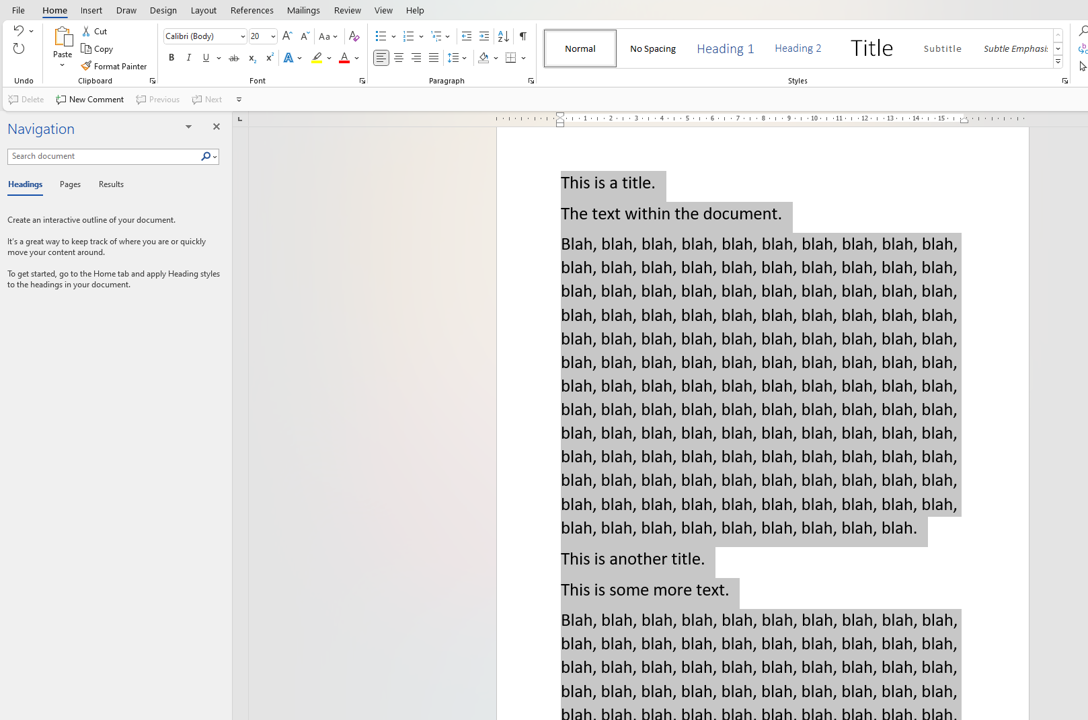
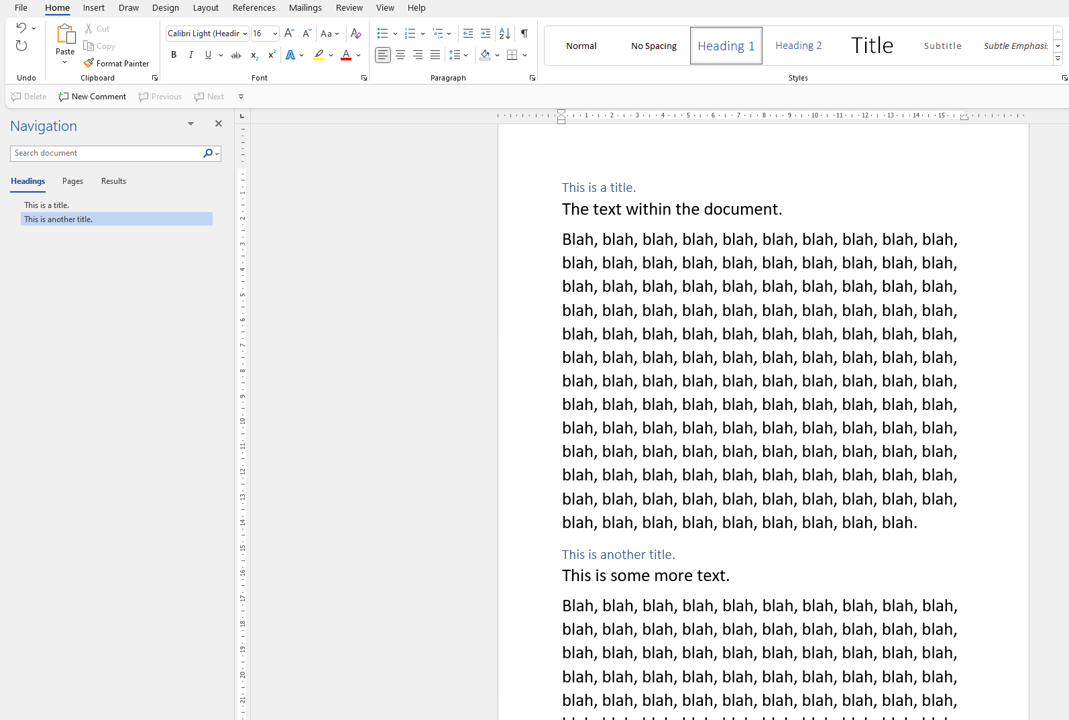
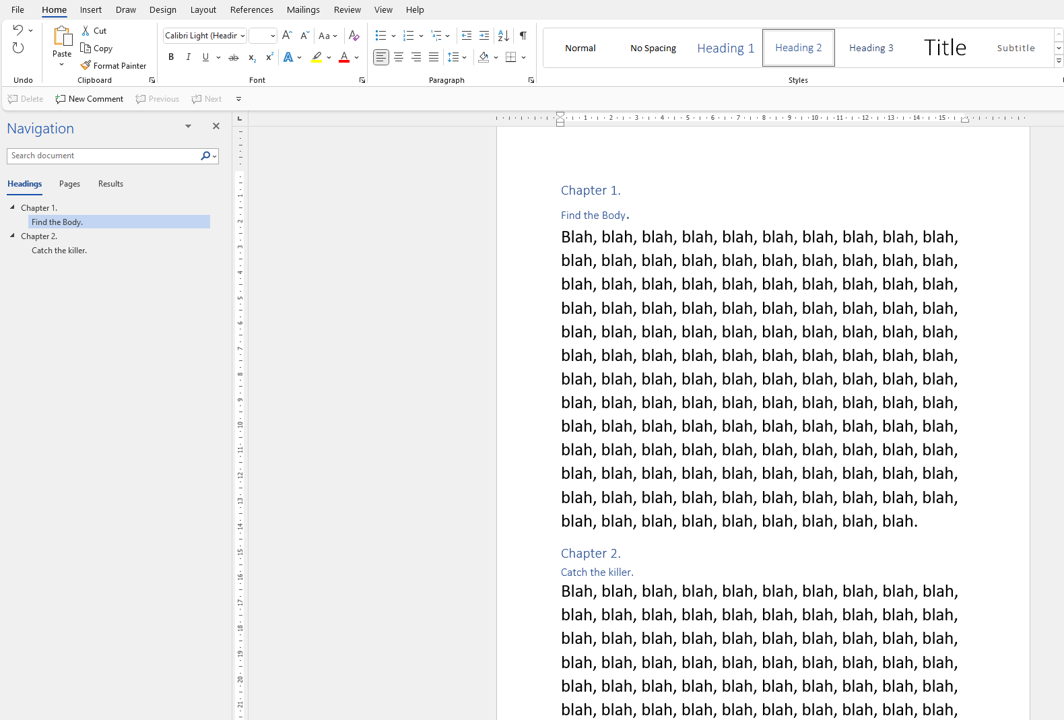
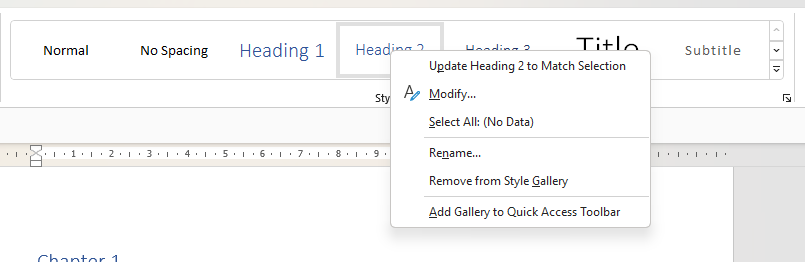
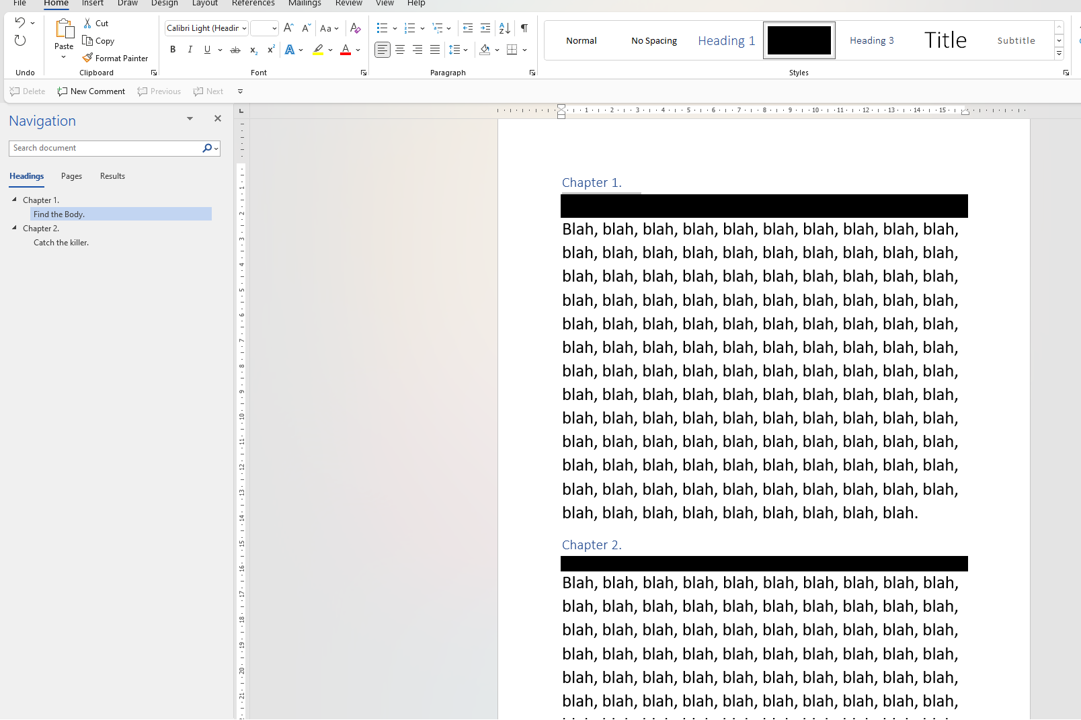
I've looked before at the issues surrounding editing before (eg #Tips48 for an outline of the basic process; #Tips72 for help chopping the wordcount), but for these posts, I want to share a few of the tips and tricks I've picked up over the years. A few weeks ago, I wrote a couple of posts about how to use descriptive section titles to help you navigate your document, either in Word (or similar) (#Tips124) or Scrivener (#Tips125). Today I thought I'd share some of the information I include in my descriptive titles. The purpose of a descriptive section title is to help you quickly navigate to a specific part of your manuscript so that you can edit it, without having to search. Whether you work in Word, and your manuscript is a single document, or in Scrivener, and your project is made of dozens of smaller documents, it can be a real chore finding the bit of your project that you want to add to, delete from or modify. I therefore add a brief description (just a couple of lines) that tells me what happens in that section. By using styles I can use the navigation pane in Word to jump directly to that section. When the book is finished, it's easy to delete all these section titles. Or, I can simply redact them so they don't spoil the upcoming scene for my beta readers. (See Tips 124 and 125 for how to do this). My descriptive titles contain a number of pieces of key information. First, I give each section a unique identifier; typically something like S1001, S1002 etc. These numbers aren't sequential in my document (as I write out of sequence), but you may choose to assign one that is more reflective of the section's position in the story, or perhaps group related scenes together. If I want to add another document that sits between S1001 and S1002, I usually append a letter eg S1001a. The purpose is to give a very quick way to jump to a section. Eg, when editing a paper draft, I might make a note to 'change the name of the garage in S2003b'. All I have to do is search for 'S2003b'. I then write a line or two that says what is going to happen in that scene. Eg S1001: Warren called to crime scene, or S3002: Warren discovers name of killer (no reveal yet). This will appear at the beginning of the scene, and since I have applied a heading style, can be clicked in the navigation pane. In Scrivener, I also make sure to use this in the document title, so that it appears in the Binder. But there is more information that you can add. I find it useful to include the date that the action is taking place. This means that I keep track of timings more easily, and is really helpful if I move scenes around in a story. If I move a scene two days earlier, for example, I can easily spot unchanged dates within the text when editing - eg a phone call now takes place on a Monday, rather than a Wednesday, so I need to change the line "The victim's brother phoned six days after the murder" to "The victim's brother phoned four days after the murder". In Scrivener, you can include a custom metadata tag. All my documents have the custom metadata fields 'Story_date' and 'Day_Number'. By including (<$custom:Story_Date>) Day (<$custom:Day_Number>) in the descriptive section title, when I compile the output document it will include the date and the day number. Custom metadata is easily changed within the Outliner if you move things around. Thus a typical section title might look like. S1003: Warren visits murder scene (Tu 05/11/22) Day (3). In Scrivener it would look like S1003: Warren visits murder scene (<$custom:Story_Date>) Day (<$custom:Day_Number>), changing to the above when compiled. One last suggestion. If you switch between Word and Scrivener - for example, you write your document originally in Scrivener, compile and export it to Word, then do edits in Word before importing it back into Scrivener for major changes - your individual documents will be merged into one long document. You can avoid this by adding an abnormal character in front of the title. Eg ~¬S1003: Warren Visits Murder Scene. When you import your Word document back into Scrivener, choose Import and Split and tell it to split the document using the abnormal character (I add a couple of abnormal characters, so I can do this repeatedly). Hey presto, you get all your subdocuments back! Do you use descriptive section titles? Do you include additional information to help you navigate your document easily? Feel free to comment below or on social media. Until next time. Paul Editing Hacks |
To increase the range of topics on this blog, I am inviting Guest Bloggers to share their writing tips.
If you are an author and would like to be featured, please email me. AuthorPaul Gitsham is the writer of the DCI Warren Jones series. Categories
All
Archives
May 2024
Disclosure: I am a member of both the Amazon and Bookshop.org affiliates programs, meaning that I get a small commission everytime a book is purchased using links from my site.
|


 RSS Feed
